Showing posts with label DIY. Show all posts

Saturday, February 2, 2013

Beginning to Blog: Week 2 - Setting Up a Light Box Studio


Let's do this thing! I am ready to go. I bought some regular white tissue paper at Big Lots. I have a cardboard box, some scissors, and tape. Woot.

I followed the technique outlined in Strobist's post about How to DIY a $10 Macro Photo Studio. It takes about a half an hour to create and it is easy and cheap. The results are much better (see elephant above), do you agree?

Tools:


  • One Cardboard Box
  • White Tissue Paper
  • White Paper (Tracing Paper, Butcher Paper or any paper that is nto transparent)
  • Scissors
  • Masking Tape (I used blue painter tape)
  • Box Cutter
  • Two Bright Lights

Steps:


  • Keep the bottom of the box taped shut. 
  • Cut off one of the flaps on the top of the box (the one that would be positioned at the top when the box is complete - see images).
  • Using the box cutter, cut out a large window in three sides of the box. Please be careful not to cut yourself. Stay out of the path of the box cutter. I almost got cut a couple times. I escaped unharmed!
  • Cover each window with a piece of white tissue paper and tape it to the box. 
  • Tape a piece of paper draping like a photo studio on the inside of the box. Do not use tissue paper on the inside (as shown). Use butcher paper or another type of paper that is not so transparent. 
  • Point a light into the box on both sides and place your subject in the box to be photographed. 

Verdict: 


I like this technique much better. I may try some different lights. I also want to take some photos using my flash. 


Stay tuned for more experiments: Creating a Light Box out of Foam Board, Camera Settings, Fluorescent Lighting, Natural Lighting, Butcher Paper, Tracing Paper.


Tuesday, January 29, 2013

Beginning to Blog: Week 1 - Setting up a Home Photo Studio

Before: This is an image taken without a photo studio. Basically, I am holding a small lamp between my legs as I hover above my subject and snap the photo. :) Don't laugh.


After: This is an image taken with my first attempt at a photo studio. Cute, eh? It looks a lot better, however I still think it needs work - suggestions, please.


I am learning. Blogging requires a lot of effort and a diverse set of skills. There, I said it. To have a professional looking blog (in my opinion) I need to know how to write, how to create a web site, how to make the web site look good, how to promote my blog, and how to take good photographs. I am at the very beginning stages of my blog. Some professional bloggers suggest taking time to get all of these steps down pat before publishing a blog, but I am impatient. I want to blog now. I have decided to blog about all the steps I take to teach myself the techniques I need to make my blog a success.

The first step I will tackle is to get my photographs to look pretty. I do not know much about photography. I have a decent camera. I have been told I have a good eye for composition. I need to know how to create the images I want. Apparently, it is all about lighting and to get good lighting takes a photo studio. I plan to learn more about my camera and I am kind of working on that at the same time. I will document them both. But first, let's talk about how to set up a home photo studio for good lighting.

Problem: No natural light. The enviable bloggers who are kind enough to offer advice on how to create a home studio often like to use natural light to capture their fabulous images. Unfortunately, I work full-time outside of the home and I do not have much daylight during the week. 

Solution: Create a Home Photo Studio with Tripod Lights. I am combining suggestions from research on the web to create a home photo studio. It is still very much a work in progress.

Tools:


I spent about $40 at Home Depot on the following tools:
  • 2 tripod lights (do yourself a favor and buy the ones actually on a tripod)
  • White backdrop (Use a cheap white sheet. You have to iron it, do not whine about it like I did)
  • Aluminum Foil
  • Cardboard
  • 2 Spring Clamps

Steps:
  • Place the tripod lights above the subject and point them down onto the subject creating minimal shadows. 
  • Move the subject around to get the best lighting. 
  • Use the aluminum foil to bounce the light back onto the image. 

The result is a crisp, bright image.


For great lighting and DIY studio information, check out the tutorials on these two sites:

Handmadeology

and

ClickinMoms

Verdict:

I think I can do better. Next, I will make a light box to compare. I came across some nice tutorials that are inexpensive, easy and seem to give the result I am seeking.

Stay tuned for more experiments: Creating a Light Box, Camera settings, Fluorescent Lighting, Natural Lighting, Butcher Paper, Tracing Paper. 

Friday, January 11, 2013

How to Up-Cycle Old Christmas Cards Into Fabulous Gift Tags


Happy 2013! I am back from a long year away from blogging. Slackin'. I have lots to post and intend to keep up with it this year. You can call me out in two months when I start to continue my slackin' ways again. 

Anyway, here is my first post of 2013 - the the age of creating a new consciousness. What other way to celebrate than to do a bit of an eco-friendly project?

Every year, I vow to up-cycle my Christmas cards. I have ideas to make snowflakes out of them or collages, what have you. This year, I finally followed through and made two different projects with my Christmas cards: gift tags and gift boxes. Today, I will post a tutorial on how to make gift tags. 

Gift Tags:

Tools:


  • Christmas Cards
  • Hole Punch
  • Paper Punch (my shape is about 3 inches by 3 inches)
  • Glue
  • Scissors
  • String or ribbon
  • "To: From:" Stamp 
  • Ink Pad
  • Get creative - I also incorporated raffia, jewelry wire, glitter (hello), stickers, paints, candy wrappers, wrapping paper, tissue paper,  etc.

Steps:

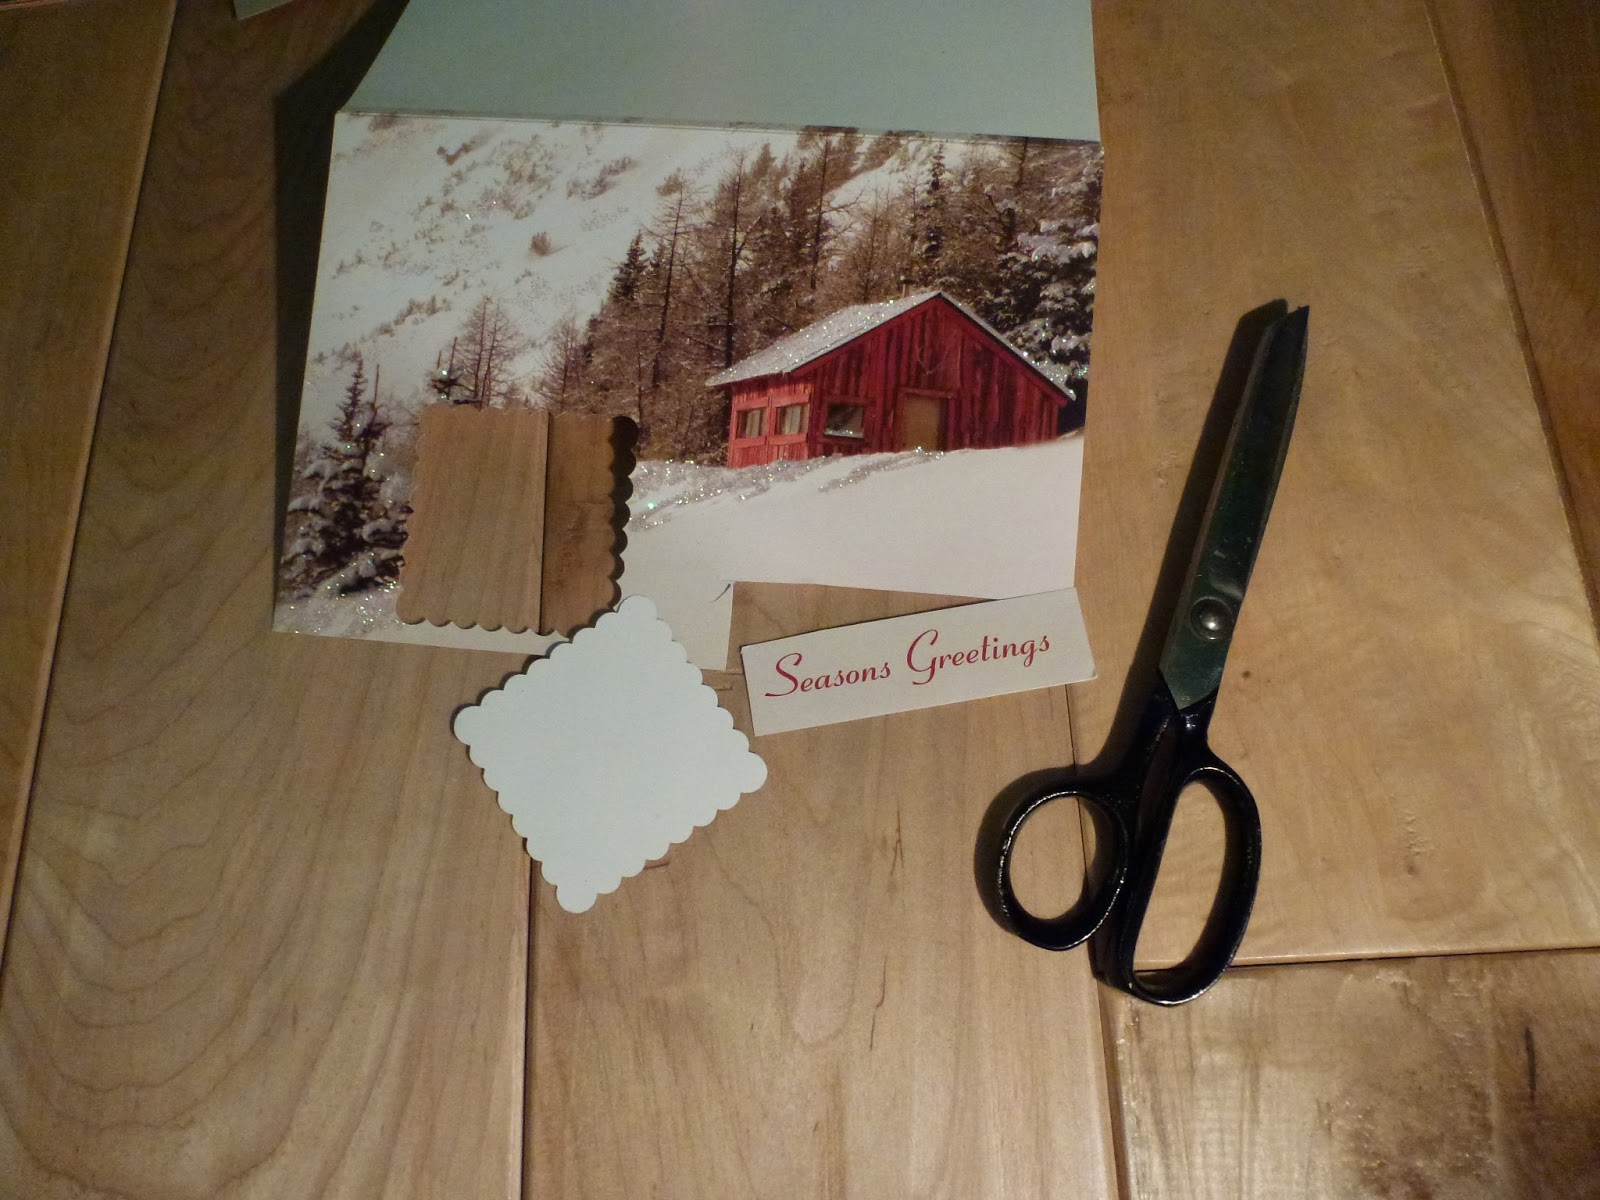
1. The Canvas: take your paper punch and align it on the front cover of the card where you would like to punch it out. Make sure there are no words on the other side because we want the backside of the canvas to be blank so we can stamp "To and From" on it. Tip: use the canvas piece as a background for your tag. I found my tags became more interesting when the background was not too busy.


2. The Design Elements: cut out pieces and pictures and words from the inside of the card (the side with the writing on it) to layer onto the canvas piece you punched out. For example cut out "Merry Christmas" or "Joy" or "Peace" or any cute words on the cards. Also cut out any little elements (look on the back of the card for little snowmen, candy canes, snow flakes, etc.) I am using a cardinal from the back of another card.


3. Preview: Align the design elements onto the canvas before gluing them to preview what the finished tag will look like. 
4. Pop: Cut out two little squares of paper and glue all sides of them (front and back) stacked on top of each other so you can make the design elements pop off the canvas in a 3D fashion. Some people use foamy stickers for this effect. I improvised and used what I had on hand - hey less waste! Another way to make the elements pop is to add contrast. For example, I cut a red velvety piece from a different card and layered it behind the "Season's Greetings" cut out because the light paper from the cut out was not contrasting with the canvas. 


5. Assemble: Use glue or Mod Podge to glue the elements to the canvas. Sometimes, it is necessary to use super glue for really glittery canvases or for textured elements like candy wrappers. Also, I sometimes weight my canvas and elements under a book for a short while until they are firmly glued in place.


6. Stamp: Flip the canvas over and stamp the To: and From: on the back. I am still practicing stamping. I get smudges!

7. Add Ribbon: Punch a hole in the top of the tag and tie a ribbon through the hole. And you are done!


Look how cute!