Happy 2013! I am back from a long year away from blogging. Slackin'. I have lots to post and intend to keep up with it this year. You can call me out in two months when I start to continue my slackin' ways again.
Anyway, here is my first post of 2013 - the the age of creating a new consciousness. What other way to celebrate than to do a bit of an eco-friendly project?
Every year, I vow to up-cycle my Christmas cards. I have ideas to make snowflakes out of them or collages, what have you. This year, I finally followed through and made two different projects with my Christmas cards: gift tags and gift boxes. Today, I will post a tutorial on how to make gift tags.
Gift Tags:
Tools:
- Christmas Cards
- Hole Punch
- Paper Punch (my shape is about 3 inches by 3 inches)
- Glue
- Scissors
- String or ribbon
- "To: From:" Stamp
- Ink Pad
- Get creative - I also incorporated raffia, jewelry wire, glitter (hello), stickers, paints, candy wrappers, wrapping paper, tissue paper, etc.
Steps:
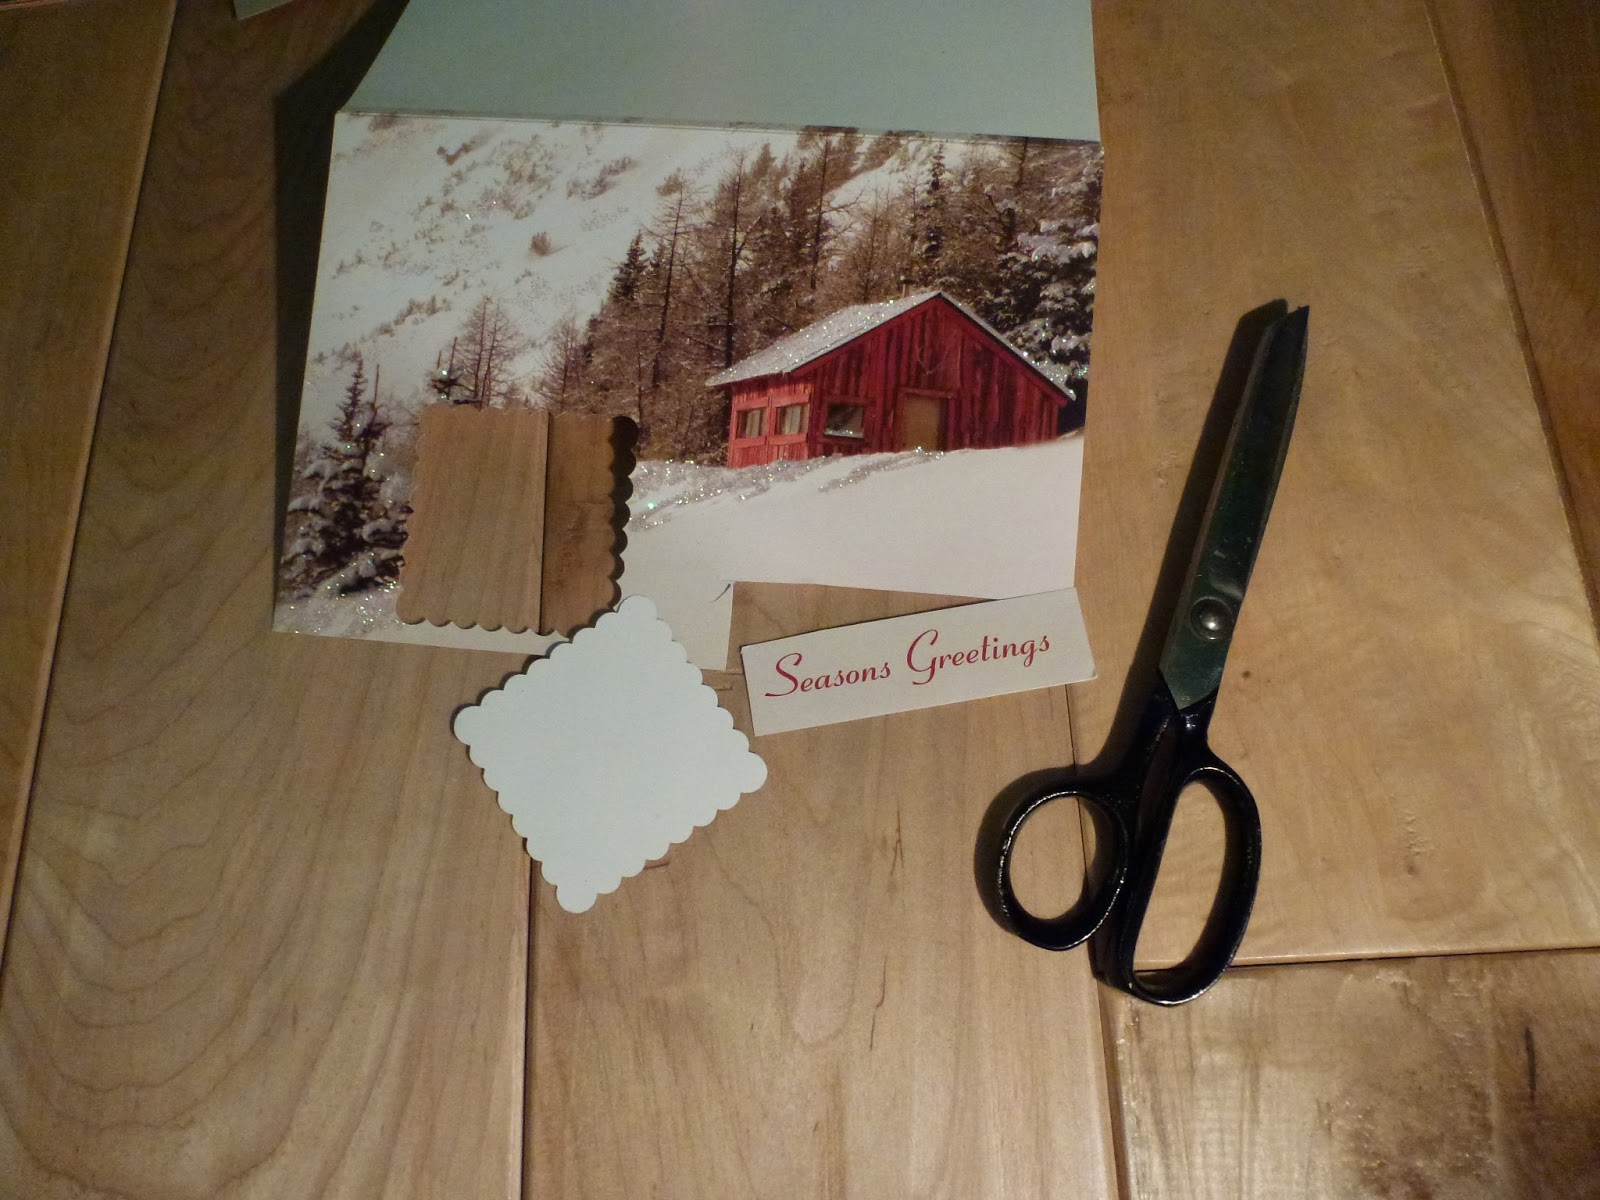
1. The Canvas: take your paper punch and align it on the front cover of the card where you would like to punch it out. Make sure there are no words on the other side because we want the backside of the canvas to be blank so we can stamp "To and From" on it.
Tip: use the canvas piece as a background for your tag. I found my tags became more interesting when the background was not too busy.
2. The Design Elements: cut out pieces and pictures and words from the inside of the card (the side with the writing on it) to layer onto the canvas piece you punched out. For example cut out "Merry Christmas" or "Joy" or "Peace" or any cute words on the cards. Also cut out any little elements (look on the back of the card for little snowmen, candy canes, snow flakes, etc.) I am using a cardinal from the back of another card.
3. Preview: Align the design elements onto the canvas before gluing them to preview what the finished tag will look like.
4. Pop: Cut out two little squares of paper and glue all sides of them (front and back) stacked on top of each other so you can make the design elements pop off the canvas in a 3D fashion. Some people use foamy stickers for this effect. I improvised and used what I had on hand - hey less waste! Another way to make the elements pop is to add contrast. For example, I cut a red velvety piece from a different card and layered it behind the "Season's Greetings" cut out because the light paper from the cut out was not contrasting with the canvas.
5. Assemble: Use glue or Mod Podge to glue the elements to the canvas. Sometimes, it is necessary to use super glue for really glittery canvases or for textured elements like candy wrappers. Also, I sometimes weight my canvas and elements under a book for a short while until they are firmly glued in place.

6. Stamp: Flip the canvas over and stamp the To: and From: on the back. I am still practicing stamping. I get smudges!
7. Add Ribbon: Punch a hole in the top of the tag and tie a ribbon through the hole. And you are done!
 |
| Look how cute! |


The tags are so cute! I like the term "upcycle", haven't heard it before!
ReplyDeleteThanks, Hannah!
ReplyDelete