Showing posts with label Reuse. Show all posts

Friday, January 18, 2013

How to Up-Cycle Old Christmas Cards into Adorable Gift Boxes


This is such a fun tutorial! I used so many cards making gift tags. Now, I wish I had saved a few. I will definitely do this with all cards I receive from now on. At least until I have moved on to some other fabulous craft. I learned a new trick from my co-worker who taught me how to make gift boxes out of my old Christmas cards. They are super cute plus they fit a gift card perfectly. Turns out, it is done simply by using a normal box template, only on a small scale. It is easy, I will show you. Since learning this, I want to take everything apart - envelopes, boxes, even underwear (I swear, I am considering this) to use as a template for a homemade version. Here we go....

Tools:


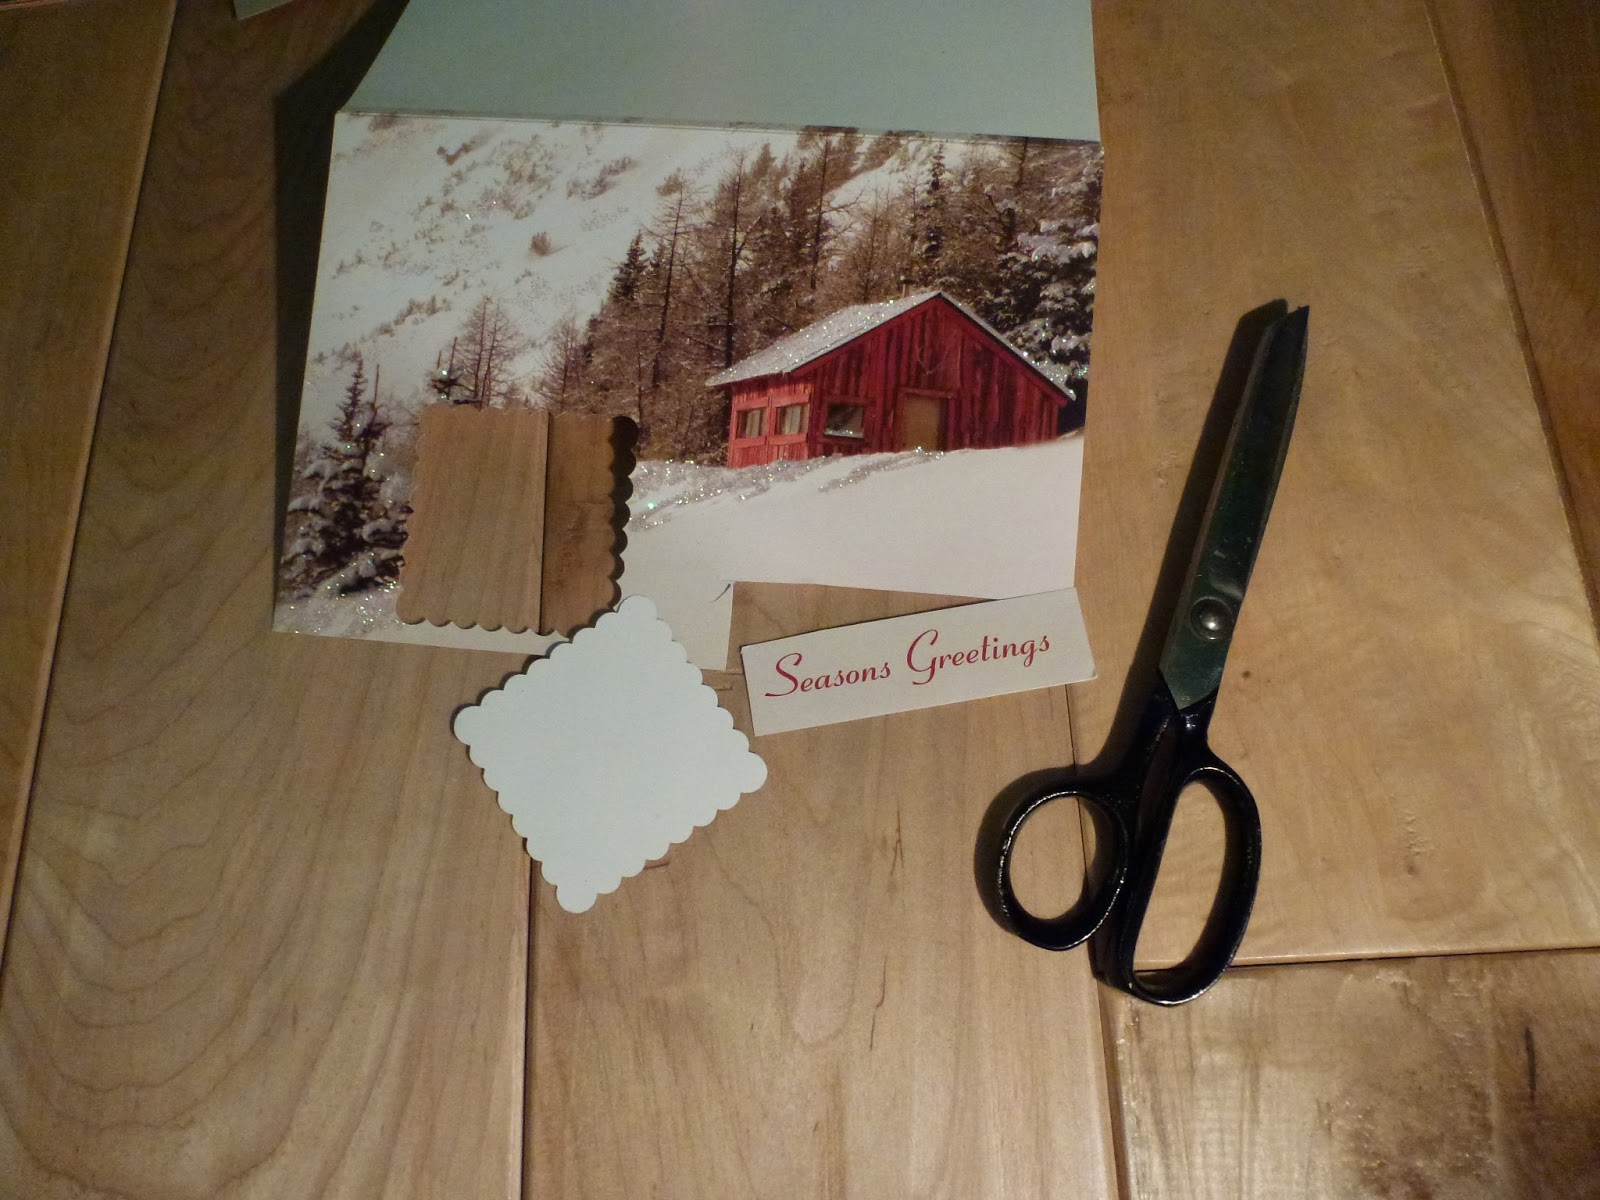
  • Greeting Card (you will never throw away any cards again!)
  • Tape or glue
  • Scissors

Steps:

1. Cut the card in half at the seam.


2. Cover the back portion of the card with paper (craft paper or wrapping paper - any cute paper) to cover the writing.

3. Glue the paper to the card.


4. After the card is firmly stuck to the paper, cut the excess paper off. You are left with a paper covered card. You can do this on all sides of the card if you want to get fancy.

Already cute!


5. You are left with two pieces from which you will create the bottom and top of the gift box.


6. For the top (or lid) of the box, I chose the piece with the snow man, flip it over so what will become the  inside is facing up.

7. Lay card out so the longest side is horizontal.

8. Draw four rectangles in each corner with the dimensions 2 inches wide and 1.5 inches tall.


9. Make a cut only on the 2 inch lines on each side. So, you will make four cuts leaving the right and left sides with three flaps.

10. Fold all three flaps in making a vertical crease where the 2 inch line meets the 1.5 inch line. See below.

11. Then, on only the middle flap fold making a crease at about half an inch from the edge.


12. Fold the card again, now horizontally,  making a crease at the 1.5 inch mark. You can see the box template starting to take shape.


13. Fold the side flaps in towards the middle flap with the half inch crease. Put some glue on the side flaps to hold them in place then tuck them both (one on top of the other) underneath the half inch crease. This will create one side of the box top.

14. Repeat on the other side.


15. Repeat this process for the box bottom using the other piece of the card.

16. All done! Place the lid over top of the bottom and tie on a cute bow. Oh, do not forget to add a gift!


Friday, January 11, 2013

How to Up-Cycle Old Christmas Cards Into Fabulous Gift Tags


Happy 2013! I am back from a long year away from blogging. Slackin'. I have lots to post and intend to keep up with it this year. You can call me out in two months when I start to continue my slackin' ways again. 

Anyway, here is my first post of 2013 - the the age of creating a new consciousness. What other way to celebrate than to do a bit of an eco-friendly project?

Every year, I vow to up-cycle my Christmas cards. I have ideas to make snowflakes out of them or collages, what have you. This year, I finally followed through and made two different projects with my Christmas cards: gift tags and gift boxes. Today, I will post a tutorial on how to make gift tags. 

Gift Tags:

Tools:


  • Christmas Cards
  • Hole Punch
  • Paper Punch (my shape is about 3 inches by 3 inches)
  • Glue
  • Scissors
  • String or ribbon
  • "To: From:" Stamp 
  • Ink Pad
  • Get creative - I also incorporated raffia, jewelry wire, glitter (hello), stickers, paints, candy wrappers, wrapping paper, tissue paper,  etc.

Steps:

1. The Canvas: take your paper punch and align it on the front cover of the card where you would like to punch it out. Make sure there are no words on the other side because we want the backside of the canvas to be blank so we can stamp "To and From" on it. Tip: use the canvas piece as a background for your tag. I found my tags became more interesting when the background was not too busy.


2. The Design Elements: cut out pieces and pictures and words from the inside of the card (the side with the writing on it) to layer onto the canvas piece you punched out. For example cut out "Merry Christmas" or "Joy" or "Peace" or any cute words on the cards. Also cut out any little elements (look on the back of the card for little snowmen, candy canes, snow flakes, etc.) I am using a cardinal from the back of another card.


3. Preview: Align the design elements onto the canvas before gluing them to preview what the finished tag will look like. 
4. Pop: Cut out two little squares of paper and glue all sides of them (front and back) stacked on top of each other so you can make the design elements pop off the canvas in a 3D fashion. Some people use foamy stickers for this effect. I improvised and used what I had on hand - hey less waste! Another way to make the elements pop is to add contrast. For example, I cut a red velvety piece from a different card and layered it behind the "Season's Greetings" cut out because the light paper from the cut out was not contrasting with the canvas. 


5. Assemble: Use glue or Mod Podge to glue the elements to the canvas. Sometimes, it is necessary to use super glue for really glittery canvases or for textured elements like candy wrappers. Also, I sometimes weight my canvas and elements under a book for a short while until they are firmly glued in place.


6. Stamp: Flip the canvas over and stamp the To: and From: on the back. I am still practicing stamping. I get smudges!

7. Add Ribbon: Punch a hole in the top of the tag and tie a ribbon through the hole. And you are done!


Look how cute!